- Incorrect preparation of the foundation
- Incorrect installation of roller carriages
- Mistakes when installing the frame
- Mistakes when installing a cantilever track
- Incorrect calculation of counterweight dimensions
- Incorrect installation of end stops
- Incorrect load calculation and component selection
- Incorrect selection or installation of automatic system
Sliding cantilever gates are a popular choice for private homes, commercial properties and industrial facilities. However, their installation requires careful planning and execution. In practice, many amateur installers make common mistakes that lead to gate malfunction, accelerated wear and tear of parts, and additional repair costs. In this article, we will look at the most common mistakes made when installing sliding cantilever gates and provide recommendations on how to avoid them.
Installation of roller carriages
Incorrect preparation of the foundation
The basis for installing sliding gates is the foundation for the cantilever track. Its quality determines the stability and smoothness of the gate leaf movement. A common mistake is pouring the foundation without taking into account the depth of soil freezing or without reinforcement. In winter, such a foundation can rise along with the soil, deforming the cantilever track, which will lead to skewing and jamming.
Another common problem is a narrow or short base that does not provide adequate support for the anchor. As a result, the gate may «walk» or shift under load.
Recommendations:
- The foundation should be no shorter than half the width of the gate opening, and the depth of the foundation should be below the frost line, usually 1.2–1.5 m (but it is worth checking what it is in your region), also take into account the type of soil.
- Mandatory reinforcement and precise horizontal alignment of the channel bar are the key to stable operation of the entire system.
The concrete foundation must cure for at least 14–28 days before installing the gate, depending on weather conditions. An alternative is a screw pile foundation, which can be used immediately after installation.
Incorrect installation of roller carriages
The main load from the gate leaf falls on the roller carriages (supports), so the durability of the gate depends on their correct installation.
A common mistake is installing carriages without observing the distance between them. If the carriages are too close to each other, the gate support base is reduced. In this case, most of the weight is transferred to one of the carriages, which leads to premature wear of the carriage and deformation of the cantilever track.
Roller carriages must be installed evenly. If the channel bar is skewed and the roller carriages are not adjusted, they may have different heights, causing the cantilever track to be placed at an angle and the gate to move with a skew and jam. This will also accelerate the wear of the carriage bearings.
It is also a mistake to weld the carriages directly to the channel bar without checking the gate movement and without aligning them «tightly». If there is a skew, it will be impossible to correct it later, and you will have to cut and re-weld the base.
Recommendations:
- The distance between the roller carriages should be approximately one third of the length of the gate leaf. One of the carriages should be installed closer to the end of the counterweight (when the gate is closed).
- Install strictly in one horizontal plane, then be sure to test the gate movement and make precise adjustments.
- The carriages must be adjustable. To do this, use a kit of adjustment plates with pins that allow you to adjust the carriages to achieve the ideal position, even if the channel bar is not installed evenly.
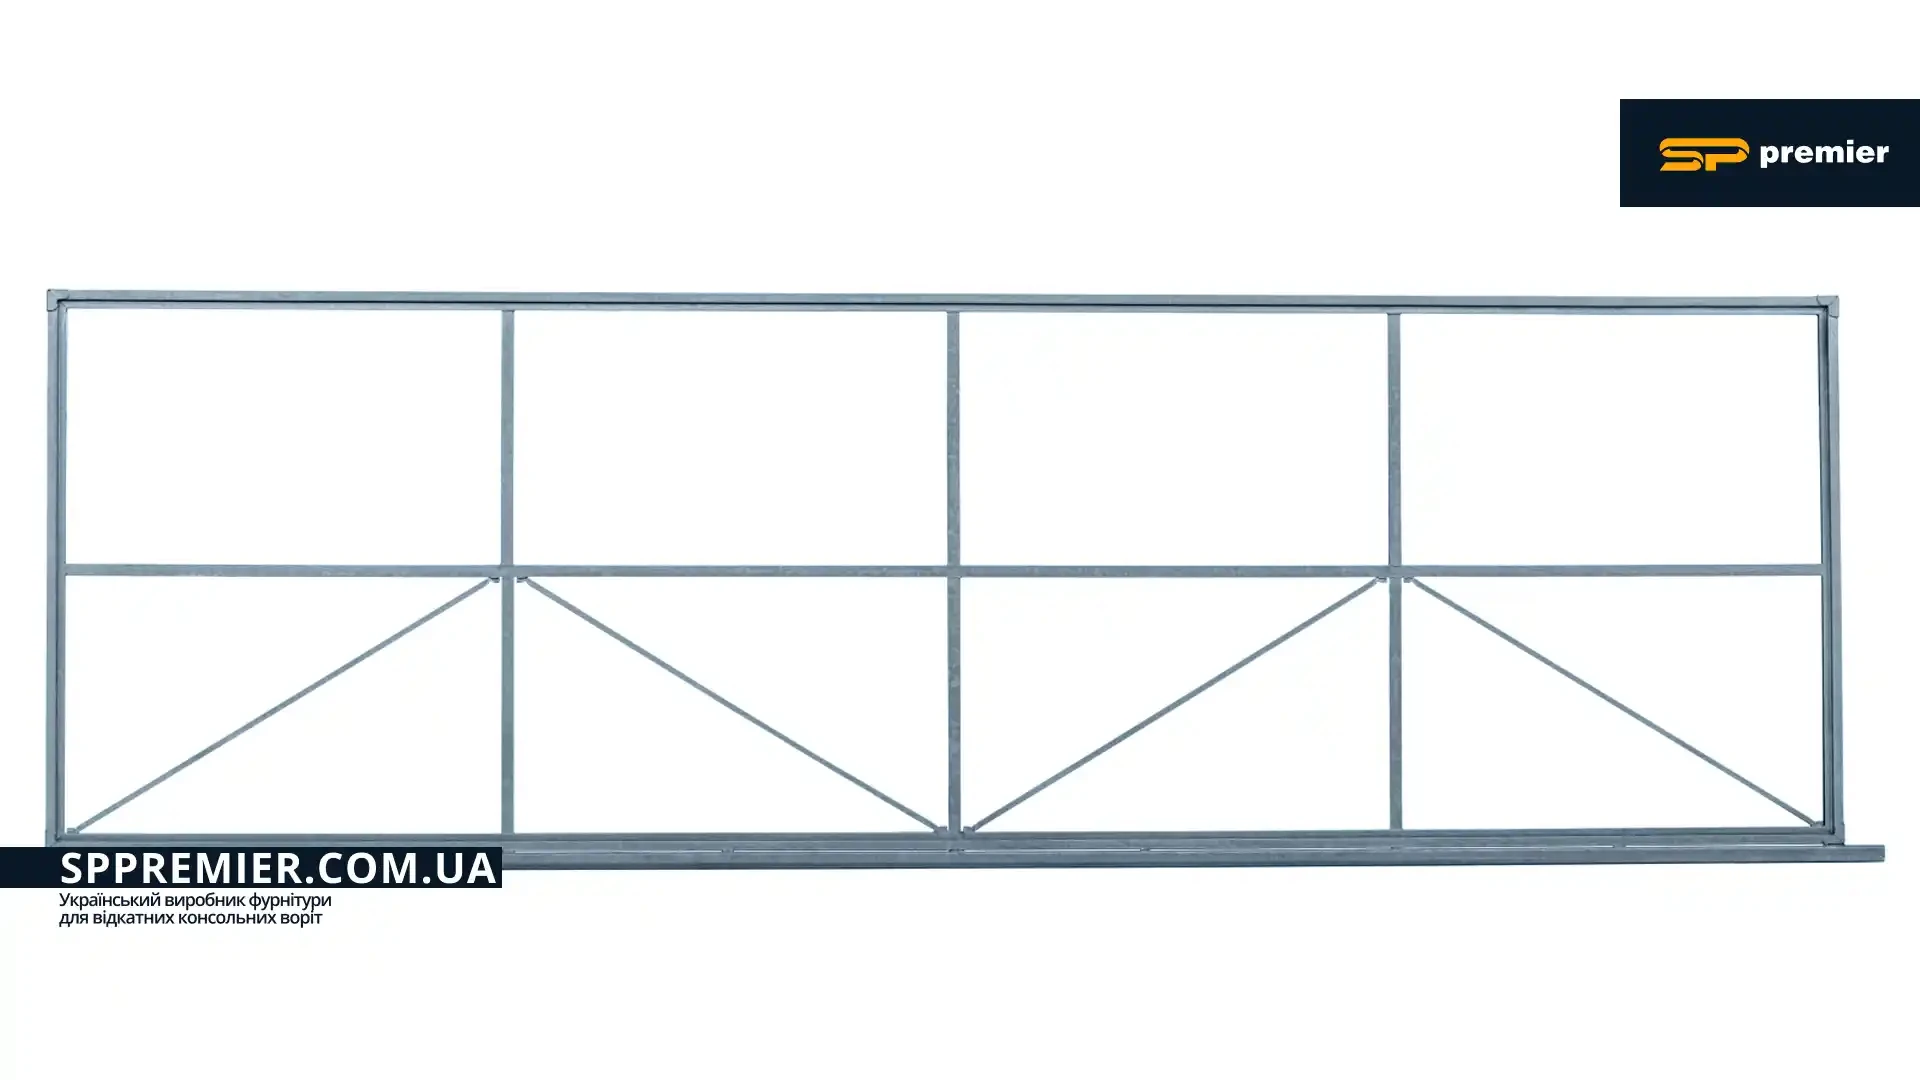
Frame SP Premier for sliding cantilever gates
Mistakes when installing the frame
Frame assembly is one of the most important stages, on which the rigidity and precision of the entire structure depends. A common mistake is unevenly cut and welded profile ends, which results in incorrect frame geometry: distortions, a «rhombus-like» shape, or a difference in diagonals of even a few millimetres cause the leaf to move unevenly and jam.
Another common problem is welding without controlling the temperature and linearity of the profile. When overheated, the metal «stretches», which can cause the cantilever track to deform. As a result, even with precise installation of the tracks, the gate moves jerkily and the rollers wear out quickly.
Another mistake is the use of a thin-walled profile or an insufficient number of cross-bridges. Such a frame cannot withstand the load of the gate leaf, and over time it «plays» and loses its rigidity, especially on large gates.
Special attention should be paid to welded joints and surface preparation. If the joints are uneven, without cleaning and priming, this not only reduces strength but also accelerates the appearance of corrosion at the joints.
Recommendations:
- Before welding, check the diagonals, control the flatness of the profile, make tack welds on both sides, and make the main welds in short sections.
- For the frame, it is better to use a 2 mm thick T-profile. After assembling the frame, clean the welds, prime and paint completely.
- For a precise angular connection of T-profiles, we recommend using SP Premier T-connectors, which will ensure the precise geometry of the frame and reduce the time required for its assembly.
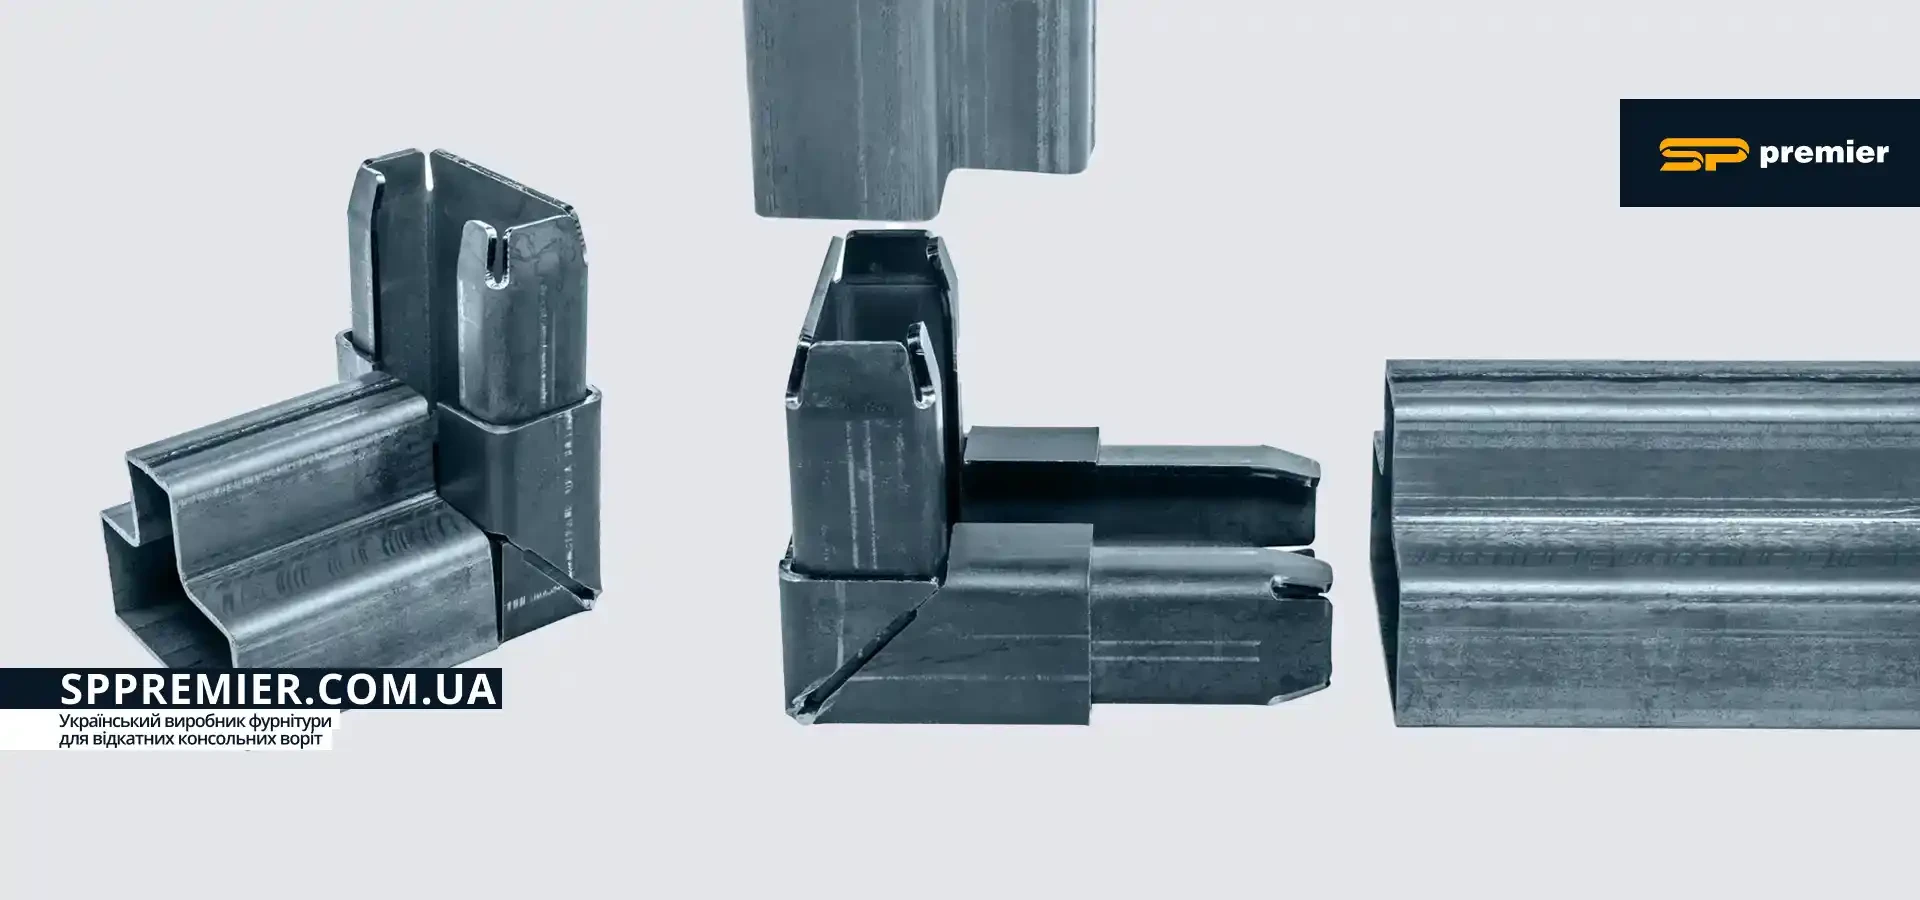
SP Premier T-connectors
Mistakes when installing a cantilever track
The cantilever track is a key element in the design of sliding cantilever gates. The smoothness of movement, ease of opening and durability of the entire system depend on the accuracy of the track installation.
Sometimes installers weld the track to the gate leaf without carefully checking the horizontal alignment and evenness. If the track is installed even with a slight skew or wave, the gate will not move smoothly: the rollers will jam and the leaf will «walk».
Another mistake is welding with overheating. This can cause the profile to deform, and the rollers will jam when moving.
Recommendations:
- During installation, use a long spirit level to check that the track is horizontal and straight along its entire length.
- Welded joints should be made in short sections with pauses to allow the metal to cool, or using a spot welding method to avoid deformation.
Incorrect calculation of counterweight dimensions
The following group of mistakes is related to the counterweight. Cantilever gates consist of a passageway and a counterweight — a tailstock that balances the weight.
If a counterweight that is too short is installed to save material or space, this will increase the load on the roller carriages and the foundation. The gate will ‘peck’ (sag) in the closed position or when moving, leading to rapid wear of the rollers, damage to the cantilever track and, as a result, jamming.
Recommendations:
- The length of the counterweight should be 50% of the width of the passage, as this proportion allows the weight of the gate to be balanced correctly.
- For heavy gates, use a straight counterweight, as it can better withstand loads and reduces the risk of skewing.
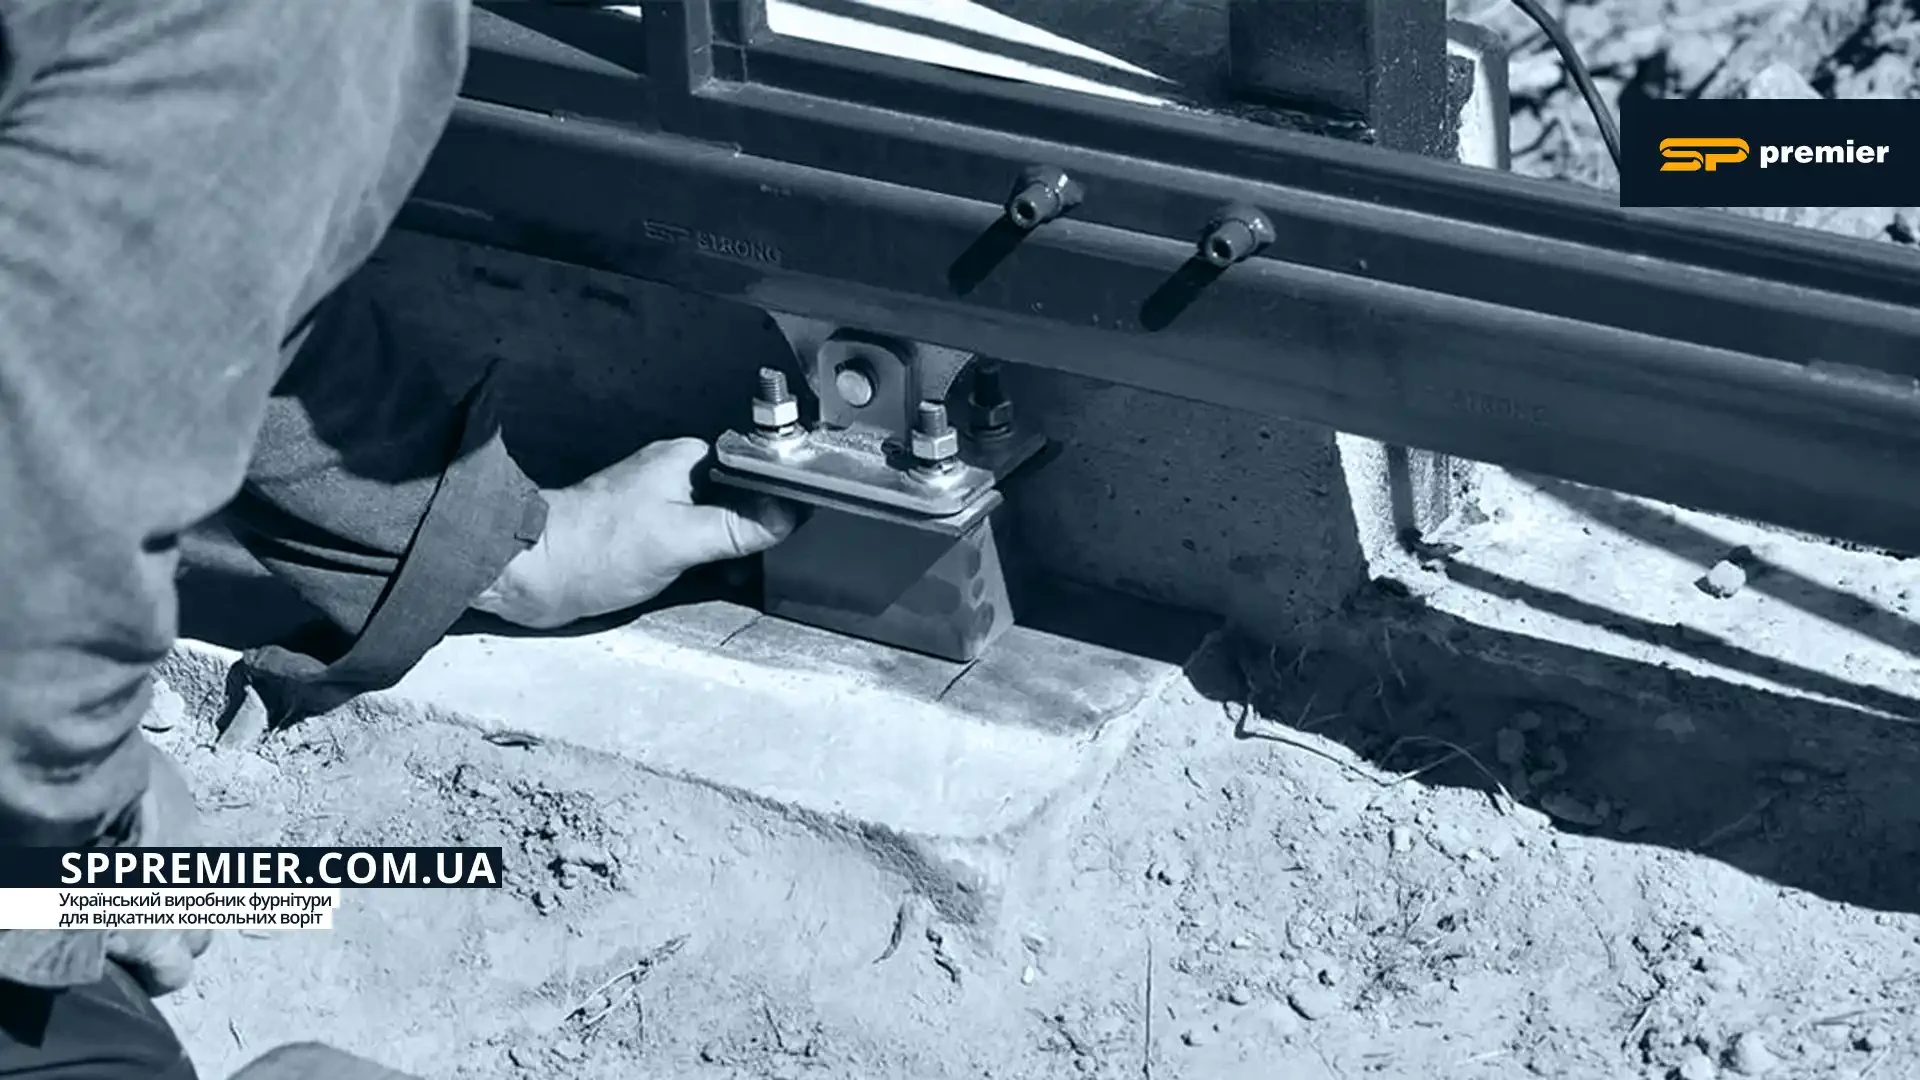
Incorrect installation of end stops
End stops are important structural elements. The bottom end stop supports the weight of the gate leaf in the closed position, reducing the load on the rollers, while the top end stop prevents the leaf from swaying in the wind.
Common mistakes include installing end stops too high or not in line with the gate leaf, in which case it will not be able to fit into the end stops and will simply rest against their shelves with the frame. And if they are too low, the roller will hang and the bottom end stop will not be able to unload the system.
Recommendations:
- The end stops must precisely match the position of the gate when closed.
- The end stops should be installed after the gate leaf has been mounted, and then the position of the bottom end stop should be adjusted so that the gate leaf roller easily enters it and rests on the end stop shelf.
- We also recommend choosing end stops with plastic bumpers — this will reduce noise during closing and prevent damage to the frame coating.
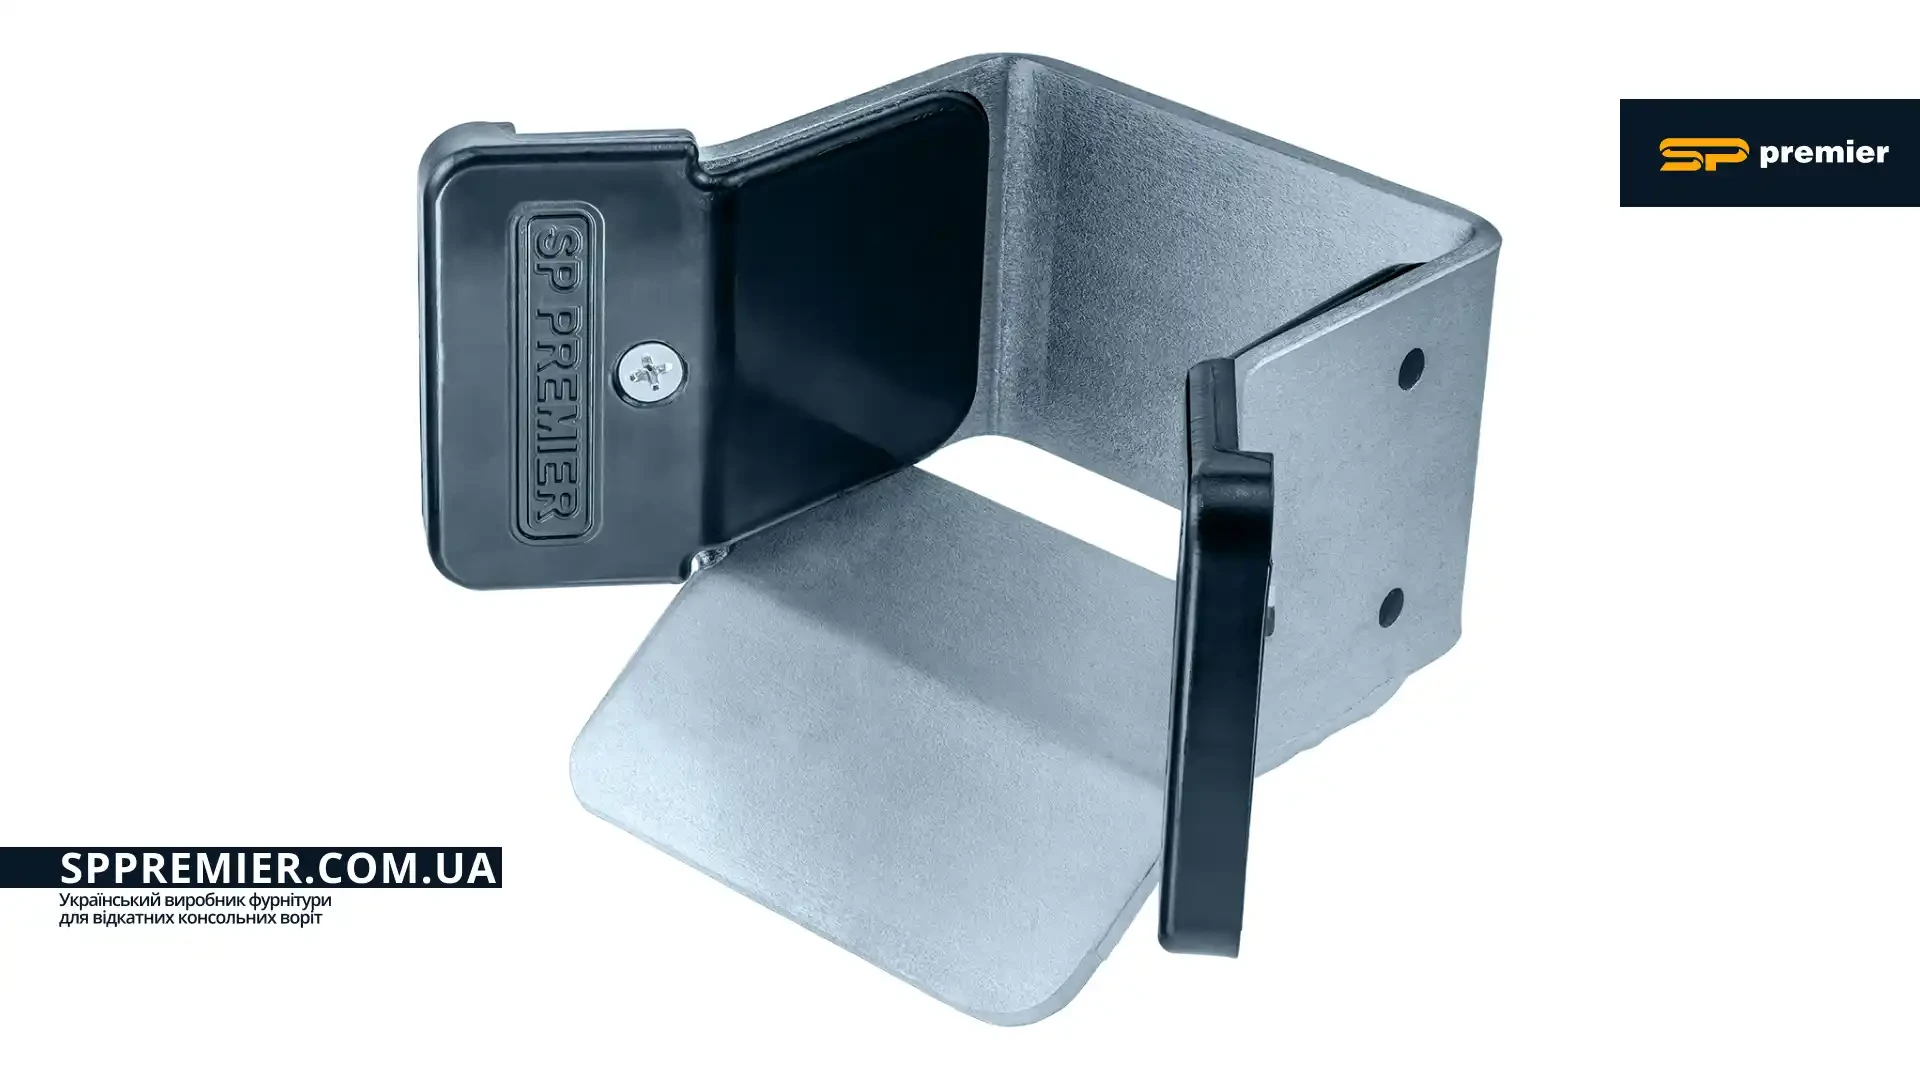
End stop with plastic bumpers Standart Smart SP Premier
Incorrect load calculation and component selection
One of the most critical mistakes is incorrect load calculation. Often, novice installers choose hardware without considering the total weight of the leaf, the length of the cantilever track and the material of the leaf, its thickness and dimensions.
The wrong choice of rollers, tracks and drive leads to the system not being able to withstand the weight of the gate leaf, resulting in backlash. For example, installing a system designed for gates weighing up to 400 kg on a gate weighing over 600 kg leads to excessive stress on all components: rollers, catchers, brackets and even the automatic system.
The cantilever track is the first to suffer. If it is made of thin-walled or low-quality metal, the profile quickly deforms under the weight of the gate leaf. The track can «bend» and form a wave, causing the rollers to move jerkily and the gate to open with difficulty.
Roller carriages are another critical element. Cheap rollers often have poor build quality and weak bearings. Over time, they begin to wobble, make noise or jam, which negatively affects the smoothness of movement and accelerates the wear of the track.
Recommendations:
- Always select hardware according to the weight and width of the gate leaf with a margin of at least 30%.
- For heavy structures, it is worth using appropriate systems, for example, SP Premier Strong hardware is designed for gates weighing 800–1000 kg, made of S235JR steel and hot-dip galvanised, the cantilever track has a profile size of 82×82 mm, a length of 6 or 7 metres and a metal thickness of 4.5 mm. These components ensure precise geometry, reliability and wear resistance even under intensive use.
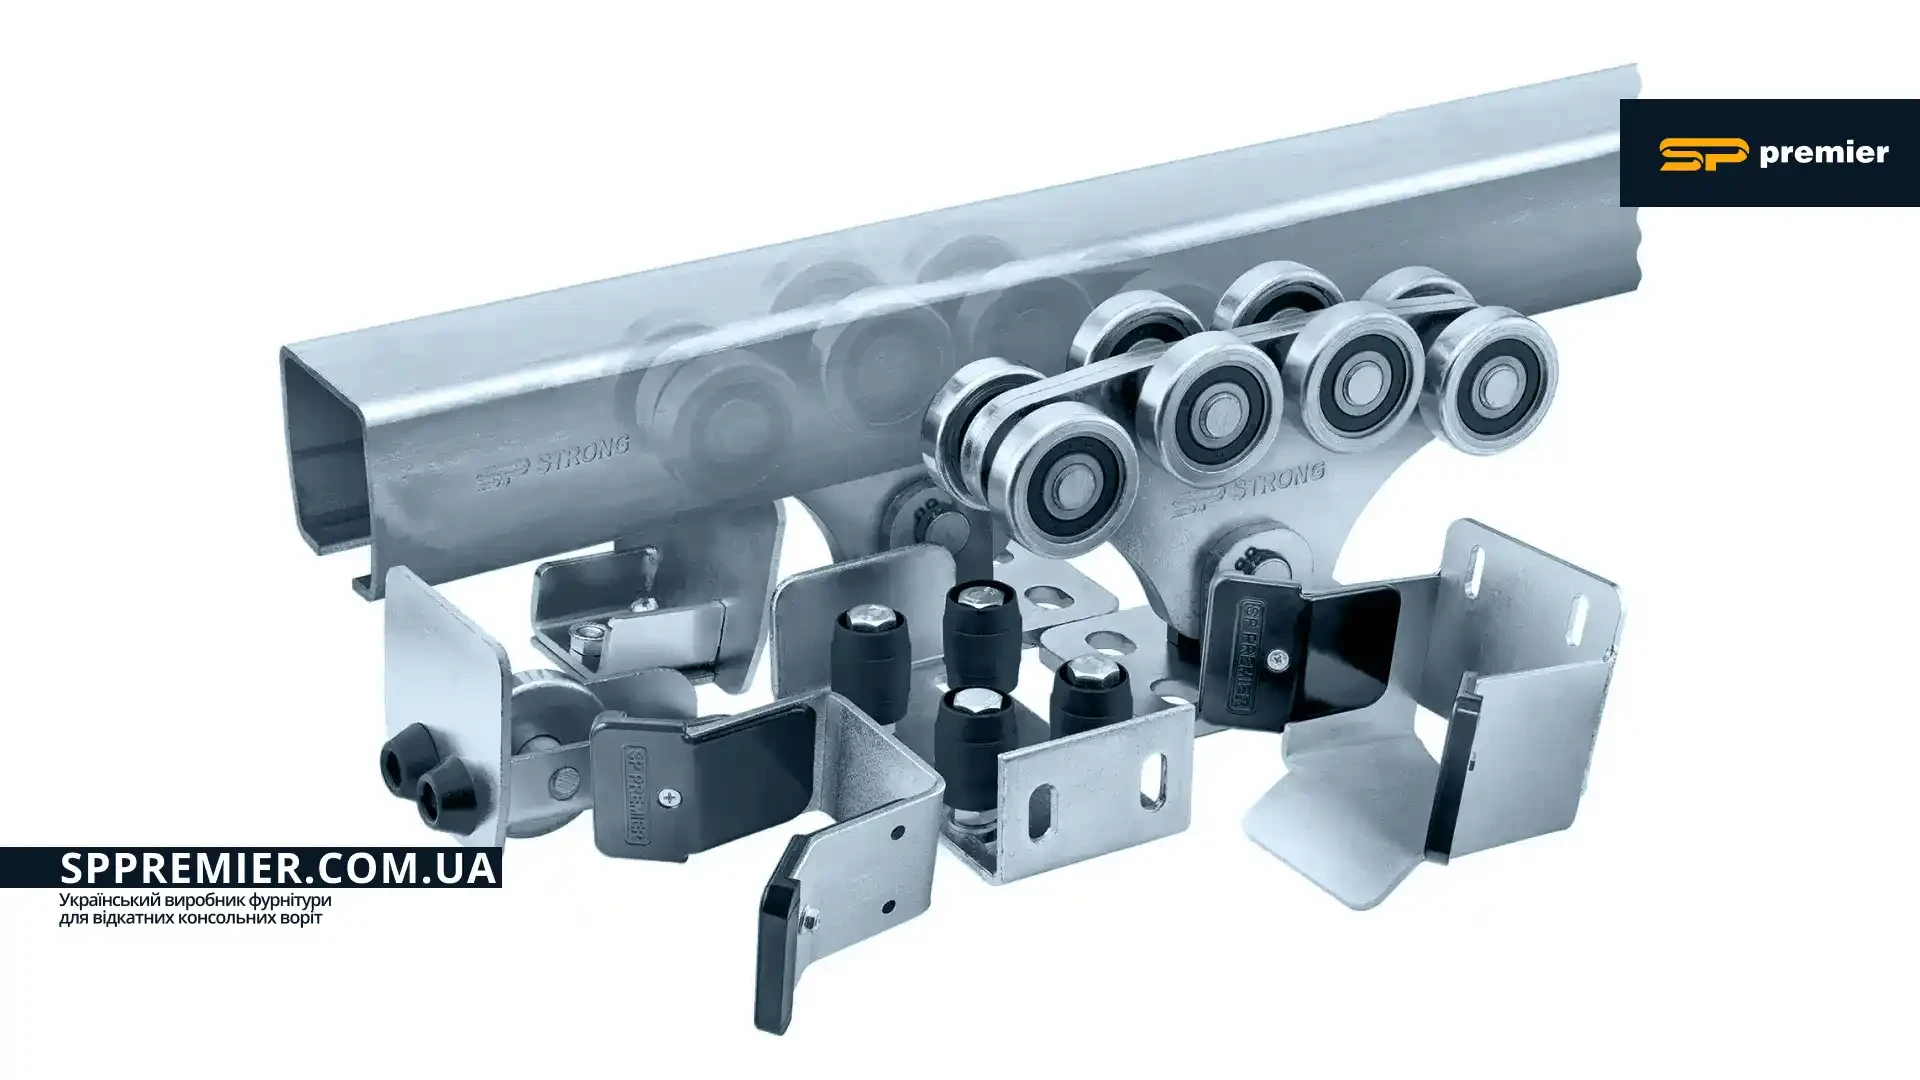
Hardware kit SP Premier Strong for sliding cantilever gates
Incorrect selection or installation of automatic system
Automating sliding gates is a convenient solution, but it can also often be a source of problems. The most common mistakes are:
- Choosing a drive without considering the weight of the gate and frequency of use, which causes it to work under excessive load.
- Installing the drive too close or too far from the rack causes excessive wear on the drive gear and teeth.
- Misalignment of the gearbox relative to the rack, which leads to noise and tooth wear.
Recommendations:
- When choosing automation, always focus on the weight and length of the gate with a reserve of at least 30% of the power.
- Install the drive according to the manufacturer's instructions, checking the evenness of the teeth engagement along the entire length of the rack.
- Install the gear rack perfectly evenly, without any unevenness, so that the gap between the rack teeth and the drive gear is small and barely noticeable (1-2 mm).
The installation of sliding cantilever gates seems simple only at first glance. Each stage — from preparing the foundation to adjusting the automatic system — requires precision and adherence to technology. Even a minor mistake during installation can turn into a serious problem during operation.
To ensure that your gate serves you for a long time and moves smoothly and quietly, entrust the installation to professionals or carefully follow the manufacturer's recommendations. Proper installation not only ensures ease of use, but also guarantees the safety and reliability of your gate for many years to come.
Ask about hardware kits for sliding gates
Phone: +38 050 357-75-74
Viber: +38 050 357-75-74
WhatsApp: +38 050 357-75-74
Telegram: +38 050 357-75-74
E-mail: info@sppremier.com